
Last week I bought a new MacBook Pro 13" laptop. Love. But being thinner and smaller than my old Dell Vostro, when I take it to customer sites it tends to slide around in the old laptop sleeve I made. Googling a few tutorials and not quite finding what I was after I decided to combine a few plus add a couple of extra features along the way.
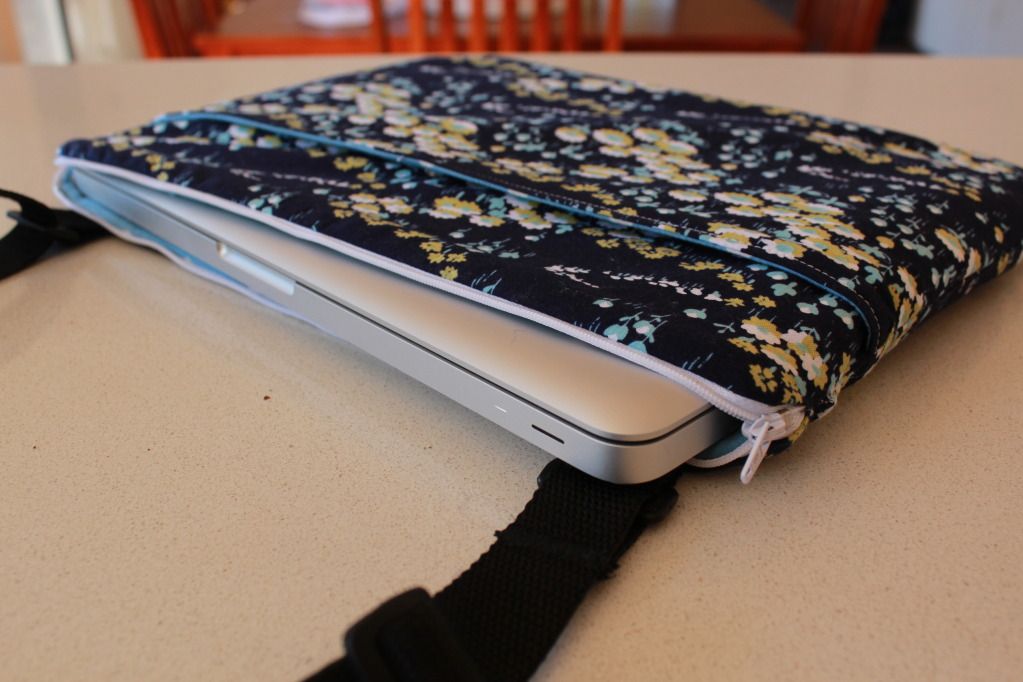
I started with a basic zippered sleeve using the tutorial at A Crafty Mommy. If you are making for the 2012 13" MacBook Pro, I'll save you some time... your two rectangles for the outer + two rectangles for the lining + two pieces of thin batting will be 15"x11" each. (Note: Be careful with your seam allowances, once finished the sleeve my laptop is nice and snug, but if my allowances had been out it might be too snug).
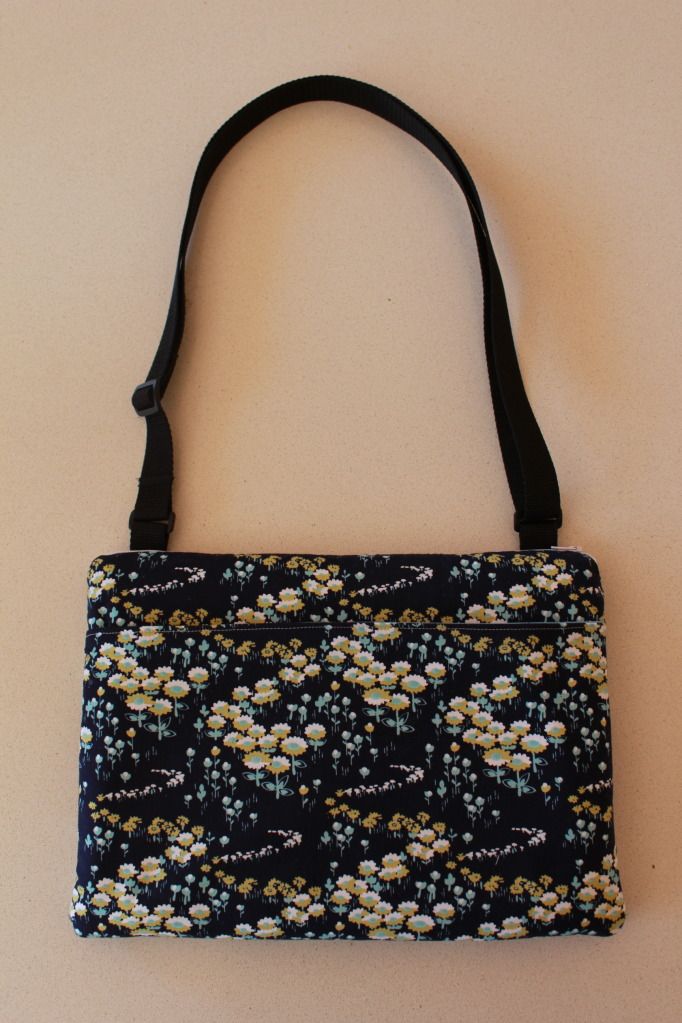
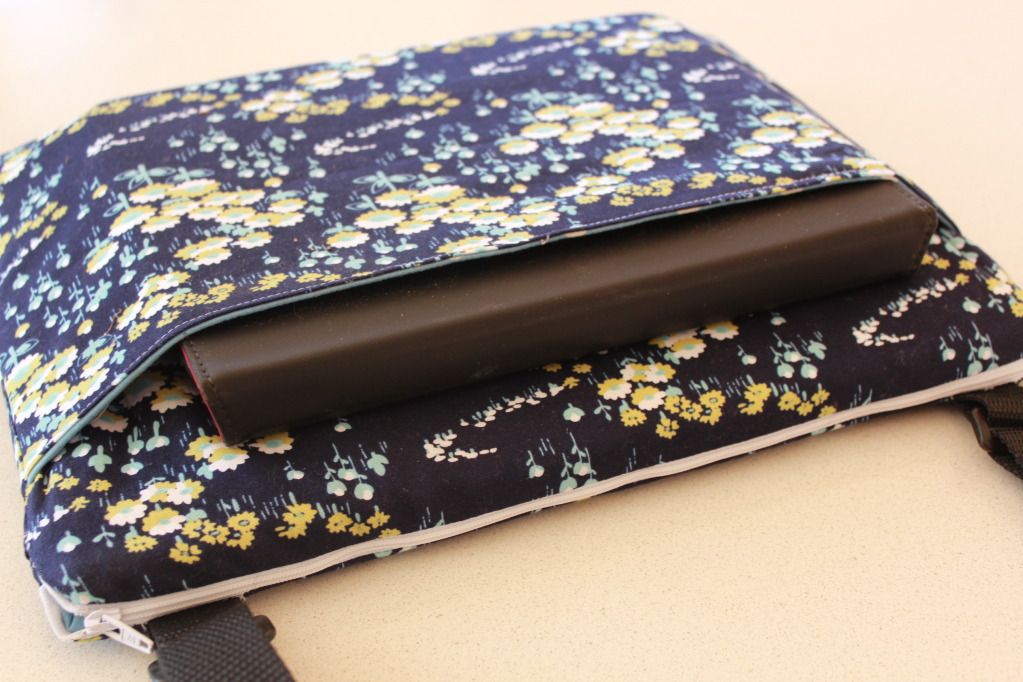
After cutting out the pieces for the sleeve, I made a pocket with a magnetic closure for the front which is big enough to hold a charger or my iPad, and added an adjustable strap. (Nikki has a great tutorial on adjustable straps). Just make sure to triple stitch everything and secure those straps in good.. you dont want your laptop to come flying out of it's case now do we.
2 comments:
Brilliant! I need to make a new one for my mini laptop.
very pretty.... warning though, those magnetic snaps can interfere with your computer/ipad.... you might want to rethink that!
Post a Comment